[개발 환경]
- Oracle 19C Enterprise Edition
- Oracle VirtualBox 7.9
- MobatXterm
해당 글에서 이어집니다.
7. Oracle Linux 환경에 19c 설치하기
[개발 환경]Oracle 19C Enterprise EditionOracle VirtualBoxMobatXterm 해당 글에서 이어집니다.https://skn100.tistory.com/33 6. MobaXterm 설치하고 Oracle Linux 연결하기앞서 설치한 Oracle Linux를 MobaXterm에 연결해보도록 하
skn100.tistory.com
1. 리스너 관련 파일인 listener.ora 파일을 생성하고 리스너를 생성합니다.


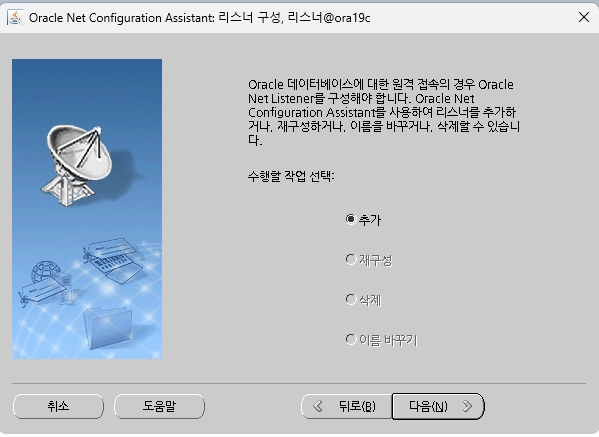


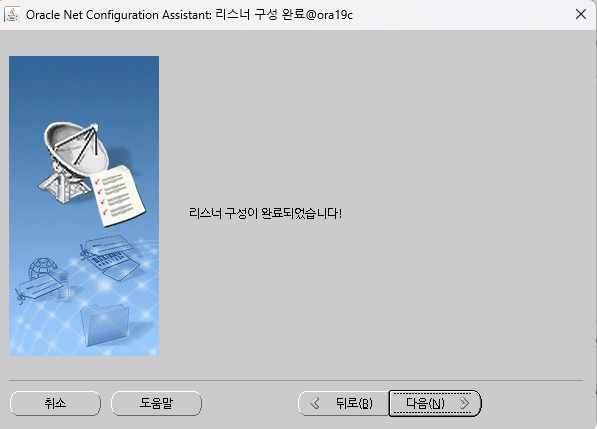
아래의 코드로 silent 를 통해 진행하셔도됩니다.
netca -silent -responsefile $ORACLE_HOME/assistants/netca/netca.rsp
2. dbca (database create assistant) 로 이용해서 db 를 생성합니다.
아래의 코드로 진행해주시면 됩니다.
# db 생성

[oracle@ora19c dbhome_1]$ **dbca**

dbca -silent -createDatabase \
-templateName General_Purpose.dbc \
-gdbName ORA19 -sid ORA19 \
-createAsContainerDatabase false \
-storageType FS \
-datafileDestination /u01/app/oracle/oradata \
-recoveryAreaDestination /u01/app/oracle/fast_recovery_area \
-characterset AL32UTF8 \
-totalMemory 678 \
-sampleSchema true \
-emConfiguration DBEXPRESS -emExpressPort 5500 \
-sysPassword '본인패스워드' \
-systemPassword '본인패스워드'
3. 설치 완료 확인
설치가 완료되면 입력했던 아이디를 통해 로그인을 테스트해보면 됩니다.
[oracle@localhost ~]$ export ORACLE_SID=orcl
[oracle@localhost ~]$ sqlplus / as sysdba

SQL*Plus: Release 19.0.0.0.0 - Production on Thu Mar 26 00:18:58 2026
Version 19.3.0.0.0

Copyright (c) 1982, 2019, Oracle.  All rights reserved.


??? ???:
Oracle Database 19c Enterprise Edition Release 19.0.0.0.0 - Production
Version 19.3.0.0.0

SQL>
편의성을 위해 어디서든 sqlplus / as sysdba를 입력하지 않아도 로그인 할 수 있게 단축어를 작성해주겠습니다.
[oracle@localhost ~]$ vi ~/.bash_profile

[oracle@localhost ~]$ cat ~/.bash_profile
# .bash_profile

# Get the aliases and functions
if [ -f ~/.bashrc ]; then
        . ~/.bashrc
fi

# User specific environment and startup programs

export ORACLE_BASE=/u01/app/oracle
export ORACLE_HOME=$ORACLE_BASE/product/19c/dbhome_1
export PATH=$PATH:$ORACLE_HOME/bin
PATH=$PATH:$HOME/.local/bin:$HOME/bin
export ORACLE_SID=orcl

alias sys='sqlplus / as sysdba'
alias alert='tail -f $ORACLE_BASE/diag/rdbms/orcl/orcl/trace/alert_orcl.log'

export PATH

[oracle@localhost ~]$ source ~/.bash_profile
alias sys = 'sqlplus / as sysdba'를 입력함으로서 sys만 입력해도 로그인되도록 설정했습니다.
alert의 경우 앞으로 alert log를 볼 일이 많기 때문에 함께 설정했습니다.
'Oracle > Oracle 설치' 카테고리의 다른 글
| 11. DGMGRL을 이용한 Switchover 테스트하기 (0) | 2026.04.01 |
|---|---|
| 9. Oracle 19C dbca로 삭제하기 (0) | 2026.03.26 |
| 7. Oracle Linux 환경에 19c 설치하기 (0) | 2026.03.23 |
| 6. MobaXterm 설치하고 Oracle Linux 연결하기 (0) | 2026.03.18 |
| 5. Oracle Linux 설치 (0) | 2026.03.18 |